Chosen theme: Understanding Mountain Bike Suspension Systems. Welcome! Today we’ll unlock the science and the feel of suspension so your bike tracks the ground with confidence, your hands stay fresher, and your grin lasts longer. Stick around, ask questions, and subscribe for deeper dives and setup checklists tailored to your trails.
How Suspension Really Works: Springs, Damping, and Traction
Springs: Air vs. Coil and the Feel of Progression
An air spring is naturally progressive, firming up late in the stroke to resist harsh bottom-outs, while a coil delivers buttery, linear support that hugs small bumps. Choose air for tuning range and weight savings, or coil for traction magic on chattery terrain. Tell us: which feel do you prefer and why?
Damping: Rebound and Compression in Plain Language
Compression controls how fast the fork or shock compresses under hits and weight shifts; rebound governs how quickly it returns. Low-speed compression tames body movements and braking dive, while high-speed compression calms sharp impacts. Too much rebound damping can cause a ‘packed’ ride. Share your rebound setting and what trail made you change it.
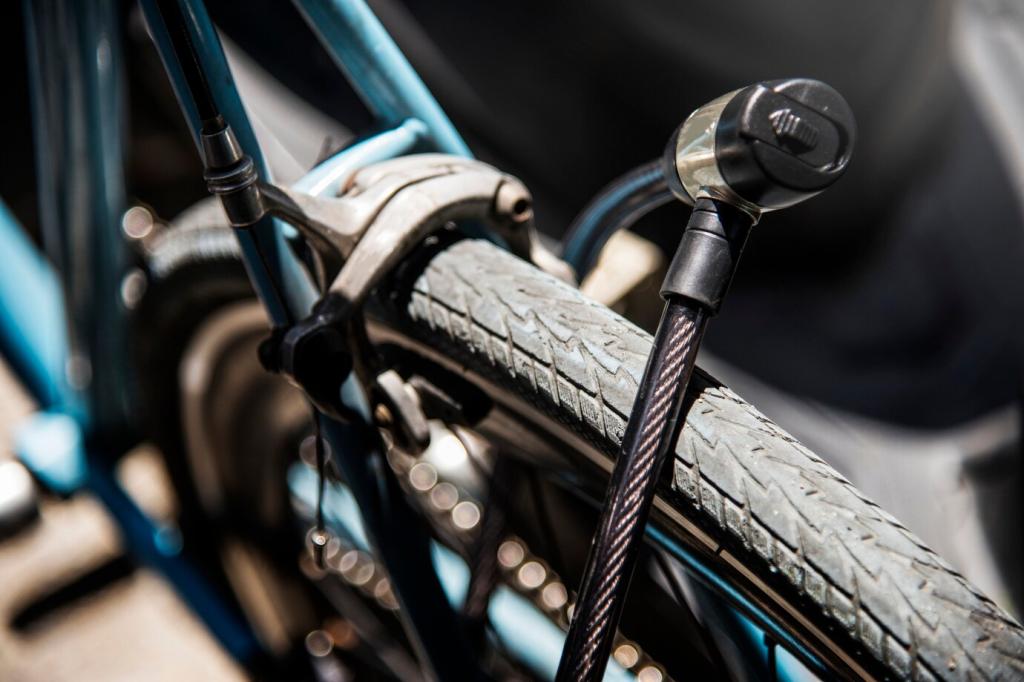
Front Forks Demystified: Chassis, Travel, and Setup
Chassis Stiffness: 32/34/36/38 and What It Means
Bigger stanchions usually mean more torsional stiffness, improving tracking in rough corners and under hard braking. A 32 mm chassis suits lightweight XC, while 36–38 mm shines for enduro aggression. Balance stiffness with weight and your terrain. What’s on your bike now, and does it match your riding style?
Travel Tuning: Matching Millimeters to Your Trails
Travel isn’t bragging rights; it’s a handling choice. XC often runs 100–120 mm for efficient steering, trail sits around 130–150 mm for balance, and enduro leans 160–180 mm for big hits. More travel can calm rough tracks but may soften steering response. Tell us the travel you ride and where it excels.
Air Pressure and Sag: The Foundation of Feel
Set sag before anything else—typically 15–20% for XC, 20–30% for trail. Use a shock pump, cycle the fork, and recheck. Aim for support without harshness, then fine-tune compression a click at a time. Post your rider weight and sag percentage; we’ll suggest a starting point together.
A rising-rate curve boosts bottom-out resistance, while a regressive start can unlock small-bump sensitivity. Balanced mid-stroke support helps maintain geometry in berms and on compressions. Ask your frame’s leverage chart or feel it on-trail: do you sink mid-stroke or ride high with pop?
Rear Suspension Architectures Explained
Anti-squat helps resist bob under pedaling; anti-rise influences how the bike behaves under braking. High anti-squat can feel efficient but may stiffen over chatter. Anti-rise near 100% stabilizes geometry when on the brakes. How does your bike feel sprinting or braking into roots? Share your observations.
Rear Suspension Architectures Explained
Setup Essentials: Sag, Rebound, and Compression
Target about 25–30% rear sag for trail and 28–35% for enduro, measured in full kit. Bounce to overcome stiction and recheck. Too much sag? You’ll wallow and lose pop. Too little? Harsh and skittery. Comment your sag numbers and we’ll help interpret the ride feel.
Setup Essentials: Sag, Rebound, and Compression
Start in the middle, then add rebound damping if the bike feels springy or remove it if it packs down in chatter. A curb test helps: hop off a ledge and feel the recovery. One click can change safety on big landings. Which rebound setting saved your last sketchy line?
Soften low-speed compression slightly and back off rebound a click to let tires conform to slick surfaces. Run slightly lower pressures for contact patch confidence. Keep your body relaxed and light on the bars. What rainy trail taught you the value of small-bump sensitivity?
Add a token or two and increase high-speed compression a click for landings and compressions. Slightly faster rebound can help pop off lips, but confirm stability on rough chatter. Log each change on the same jump line. Post your favorite park lap and we’ll suggest a baseline.
Reduce sag a touch on the fork, add low-speed compression for chassis calm, and consider pedaling platforms on smooth climbs. On rolling terrain, prioritize support that preserves momentum. Which local loop is your test track for efficient settings? Share it so we can tune together.
Maintenance and Troubleshooting for Consistent Performance
Lower-leg and air-can services every 30–50 hours maintain lubrication and small-bump feel; full damper services around 100–200 hours preserve consistency. Wipe stanchions after every ride. Set reminders and track hours. Want our maintenance calendar? Subscribe and we’ll send a downloadable version.
A Ride Story: One Click That Changed Everything
On a favorite evening loop, a root lattice always pinged my front tire sideways. After backing off rebound one click, the fork tracked instead of skipping, and the line finally held. That tiny change made minutes feel lighter. What section haunts you? Let’s tune it out together.